

You have no items in your shopping cart.
Whether you’re a professional decorator or new to DIY, the installation of our wall murals is quick and simple!
Following our step by step installation process will ensure your wallpaper is properly installed improving its quality and overall lifespan on your wall.
To make the process as easy as possible, we recommend two people install a wall mural.
Here's a list of the recommended tools for installation.
Before you start the installation, you should prepare your wall. This will help ensure a strong bond is created for a long mural lifespan.
All Icon wall mural panels come labelled and pre-cut. On receipt, please check each panel of your wallpaper and the measurements before you begin. If any white space has been left on either the first or last panel, carefully remove with your cutting tool.

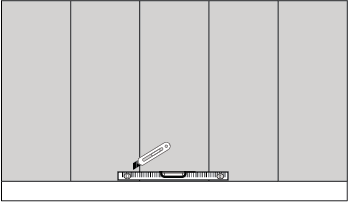
Step 1
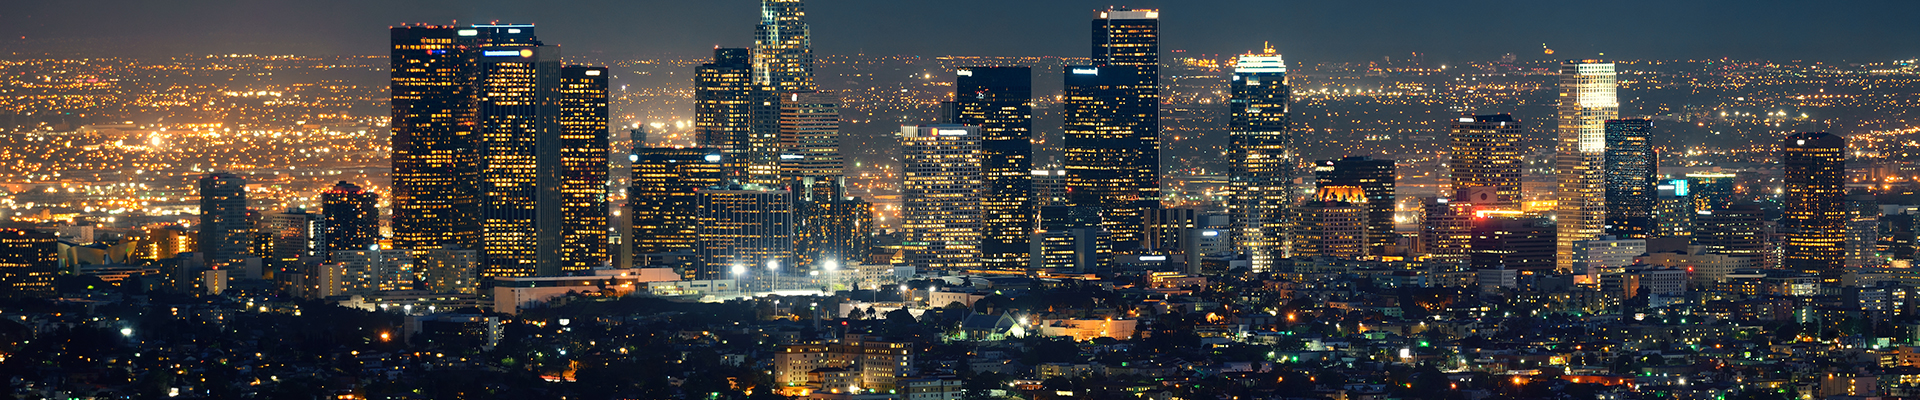
Starting at the left of the wall, use your ruler, pencil and spirit level to mark a vertical line on the wall the width of your first panel. This line is used as the anchor point to ensure your mural is straight.
Once you’ve drawn the line, stand away from the wall and check the line is right before moving to the second step.
Step 2

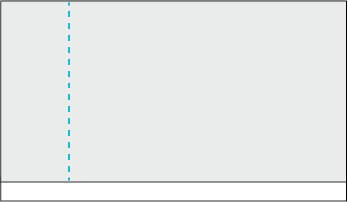
Apply a layer of wallpaper paste around 1mm thick where you have marked the first panel. Make sure the section is properly coated, especially in the corners.
The better the coverage, the stronger your mural will bind to your wall.
Once you’ve coated the wall, you can mount the first panel, starting at the top of the wall. Use your anchor line as a guide to install the panel as this will help ensure your mural is straight.
Panels can be moved by pushing or completely removed and reapplied, however, this must be done quickly! When applying the panel, ensure movements are gentle to prevent stretching of the panels.
Once the first panel is on straight, use your rubber roller to remove any air bubbles and completely flatten the wall mural to the wall.
Start at the centre of the panel working towards the edge for the best results.
You can then repeat the second and third steps to mount your remaining panels. Panels should be installed edge to edge without any gaps or overlay.
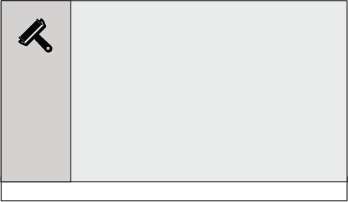
Once you’ve mounted each panel, ensure you wipe away any excess wallpaper paste using your decorating sponge before it begins to dry.
Once all the panels are installed, wait for the mural to completely dry. This should take a couple of hours but times can vary depending on your wall.
You can then trim away any excess using your cutting tool and ruler. If you find the wall mural rips, this is likely due to the paper being damp so leave it for longer.
If you’re struggling with anything, speak to a member of our Customer Service Team or check our FAQs.