

You have no items in your shopping cart.

Murals can be installed by someone who’s new to DIY or a professional decorator. However, no matter what skill level you are, we recommend reading the full installation guide before you begin to reduce the chance of errors.
Murals can be installed by an individual but the process is easier in a pair.
Here's a list of the recommended tools for installation.
Before beginning the installation process, prepare your wall to maximise the mural’s lifespan.
Panels come pre-cut and numbered for your ease. Before you begin the installation, ensure you’re happy with each mural sheet including and the mural measurements.
Step 1
Starting on the left side of your wall, mark down where you will install the first panel. Ensure the marking is straight using your spirit level.
Step 2
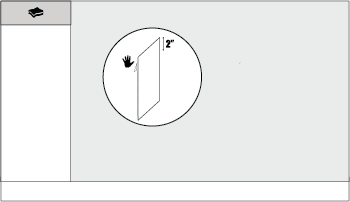
Peel down approximately two inches of the backing sheet at the top of the first panel. Carefully stick the top of the sheet to the top of the wall and ensure it’s completely straight. If the mural isn’t in the right position, slowly remove and reapply. Once you’re happy with the positioning, use your cloth to smooth the mural down against the wall. Delicately, pull away the backing sheet and stick the panel to the wall one foot at a time.
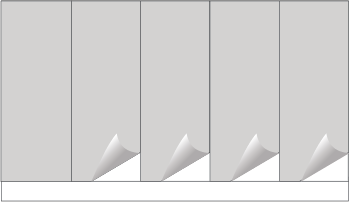
Repeat the process to install the remaining panels. Make sure the sheets are perfectly aligned without any gap. Leave the mural for a few minutes to settle on the wall.
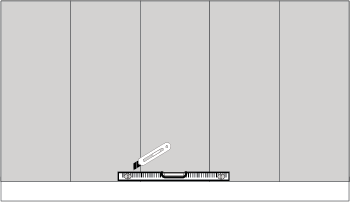
Trim away the excess at the sides and bottom using your cutting tool and ruler.
If you need any help or advice with the installation, please check our FAQs for more information or contact out our Customer Service Team.